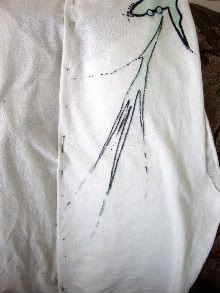
Step 1: Make a Fold about half an inch in the center or where ever you desire. Temporarily secure with Pins. Take some pen & mark dots along the fold as a reference to where your buttons will go. I made mine about 2 inches apart from one another.
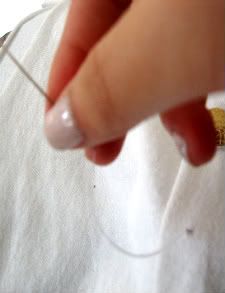
Step 2: With a Double Layered thread, sew through back side near/on dot. Make sure everything you sew in this Project is only on the back side. You don't want to get it stuck to the front. If you don't know how to sew, it's very basic what we're doing today. Take a your string & close off the end by tying a fat knot. Sew through & no worries, the string won't fly through b/c of the knot! :)
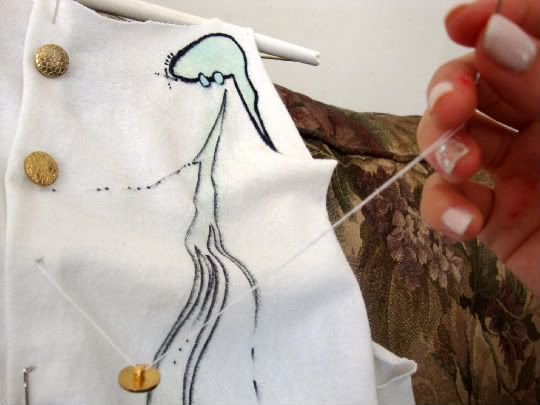
Step 3: Slide your button through the needle.
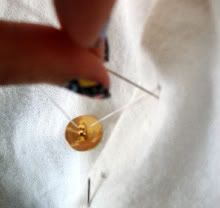
Step 4: Take needle with button and sew back through near the dot. Do these several times for a nice hold. Once you're done looping, end with a knot.
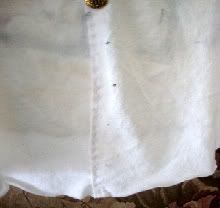
Step 5: If you didn't start your button at the very top or end it at the very bottom you can still close/line up the fold by stitching down the fold. (see photo #5).
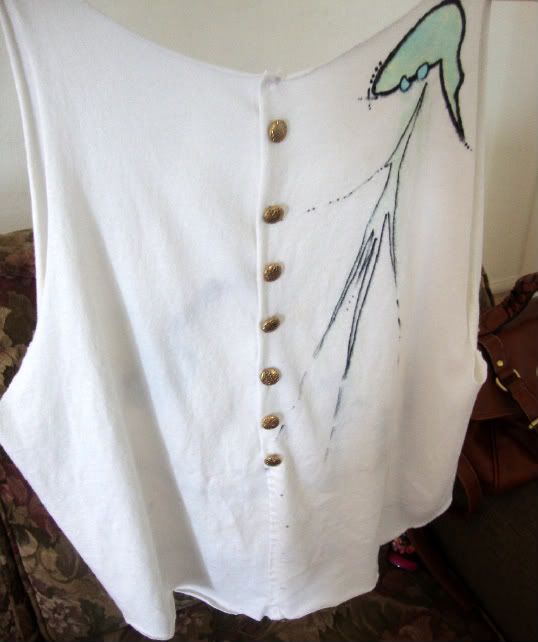
Tadaaaa, you're finished! Easily done in 1,2,3,4,5 steps! Hope you enjoyed, & have fun expiramenting! The top shown in this post is completely personalized. If you'd like to see an OOTD with this top then stay tuned because I'm making a post & uploading a video on it after I show you guys How to Add lace to a Plain Bandeau :) [b/c i thought a lace bandeau would really complete the look!] Until then, you can click here to check out my video on youtube on how I customized/created this top!
To actually watch me create this shirt, check out the video below!
Later Lovelies,
